Proxmox Homelab
This is a re-upload of my original homelab tutorial before my website update. I have been running this homelab for about a year now, and it have both gave me a platform to experiment with different things as well as hosting services for the convience of my own workflow.
Promox VE

Proxmox is based on debian Linux, and uses the Linux KVM for its virtual machines. It also has support for LXC containers, which is another way of partitioning system resources. Instead of virtualizing an entire opertaing system, containers share the same kernel as its host, which is more lightweight than virtual machines, but at the same time sacrifices some functionalities.
The decision to run proxmox comes from several decisions. First is that I actually need that system resource partitioning ability from Proxmox. Here are some of the services I plan to run:
- NextCloud: Personal cloud solution
- Git server: Version control for my software projects
- Pi-Hole: Network-wide ad blocking
I used to host all of these services in the cloud where I would have to pay a monthly fee for each of the server I host. In the long term, it could save me more money to run it myself, since the electricity rate generated by my server would be nearly flat, and that allows me to run more services on my machine. Therefore, my choice to host a server myself is also a economical one.
First, I do know about VMware EXSi, which is the industry standard for type-1 hypervisor, is also available for free. However, VMware EXSi is absolutely proprietary. Proxmox, on the other hand, is distributed under the AGPL v3 license, which means it’s Free Software. I am running Proxmox for personal use, and I generally prefer free and/or open source software comparing to proprietary ones over privacy concerns. The skills I learn from Proxmox VE should generally be transferrable to VMWare EXSi if I come across it in the future.
Second, I have thought about only using Docker to be an alternative solution. However, I do plan on setting up a Windows AD environment in the future, and since Docker would not allow me to run anything but Linux dockers on a Linux system, and many of my services need to hosted on Linux guest machines, I would have to virtualized these guest machines instead of using Docker. However, since Proxmox does support LXC, I could still get some of the benefits of containers.
Hardware Selection
I have to consider serveral things when it comes to hardware. First, I have to have enough resources for all my services and leave some headroom for possible future expansion. Second, I have to consider the power usage of my server so that it doesn’t end up cost me more to host these services at home. Third, I also have to consider noise and thermal since I am currently living with some roommates, and the server should not be too loud or too hot when operating.
CPU
At the time of the planning of my build, Xeon E5-V4s are becoming available on the second hand market since more and more services are switching to more modern AMD EPYC CPUs. Depending on the model, these old Xeon chips will cost less than $50, and you will be able to get anywhere between 4 cores to 22 cores, and a bunch of server features like support for ECC with it.
However, power consumption is a major issue. These are old, server processors meant for intensive computation. Although there are lower-TDP chips available, most chips’s TDP are rated around 90W to 145W. Although TDP does not directly translate to power usage, one should reasonably expect the power consumption of these chips to scale according to their TDP.
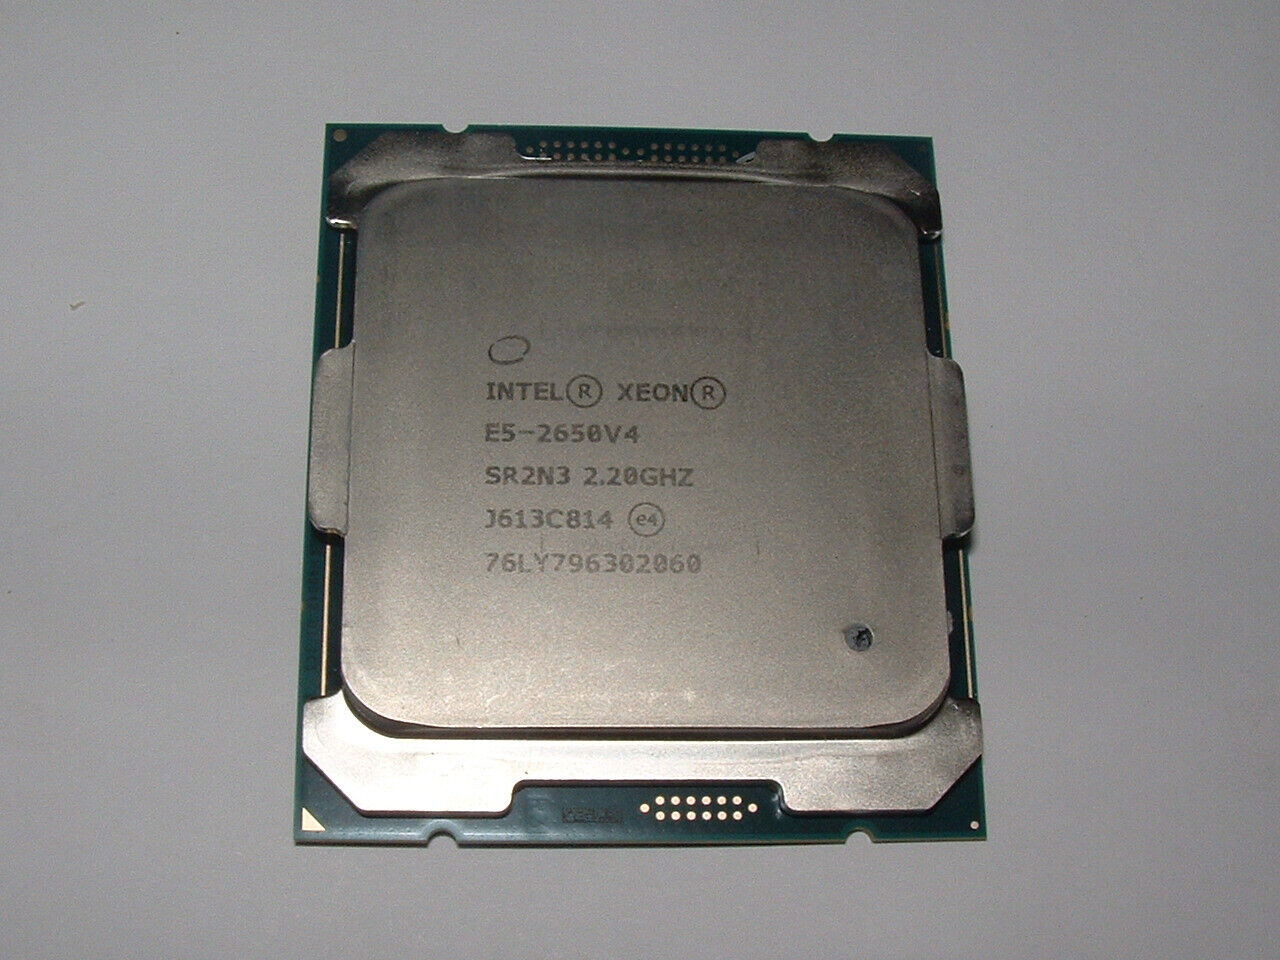
Eventually, I set my eyes on Xeon E5-2650-v4, which has 12 cores, and it has a base clock of 2.00 GHz and boosts up to 2.90 Ghz. I chose this because it just have enough cores to run all the services I need and have room to reasonably expand in the future. Although the clock speed might not sound to impressive to you if you have been following the new CPU releases, it is plenty enough for a personal use server. This chip can be found on ebay for around $20, which means if I felt this CPU is too power hungry or not have enough performance, I can simply swap to another CPU since it’s so inexpensive.
RAM
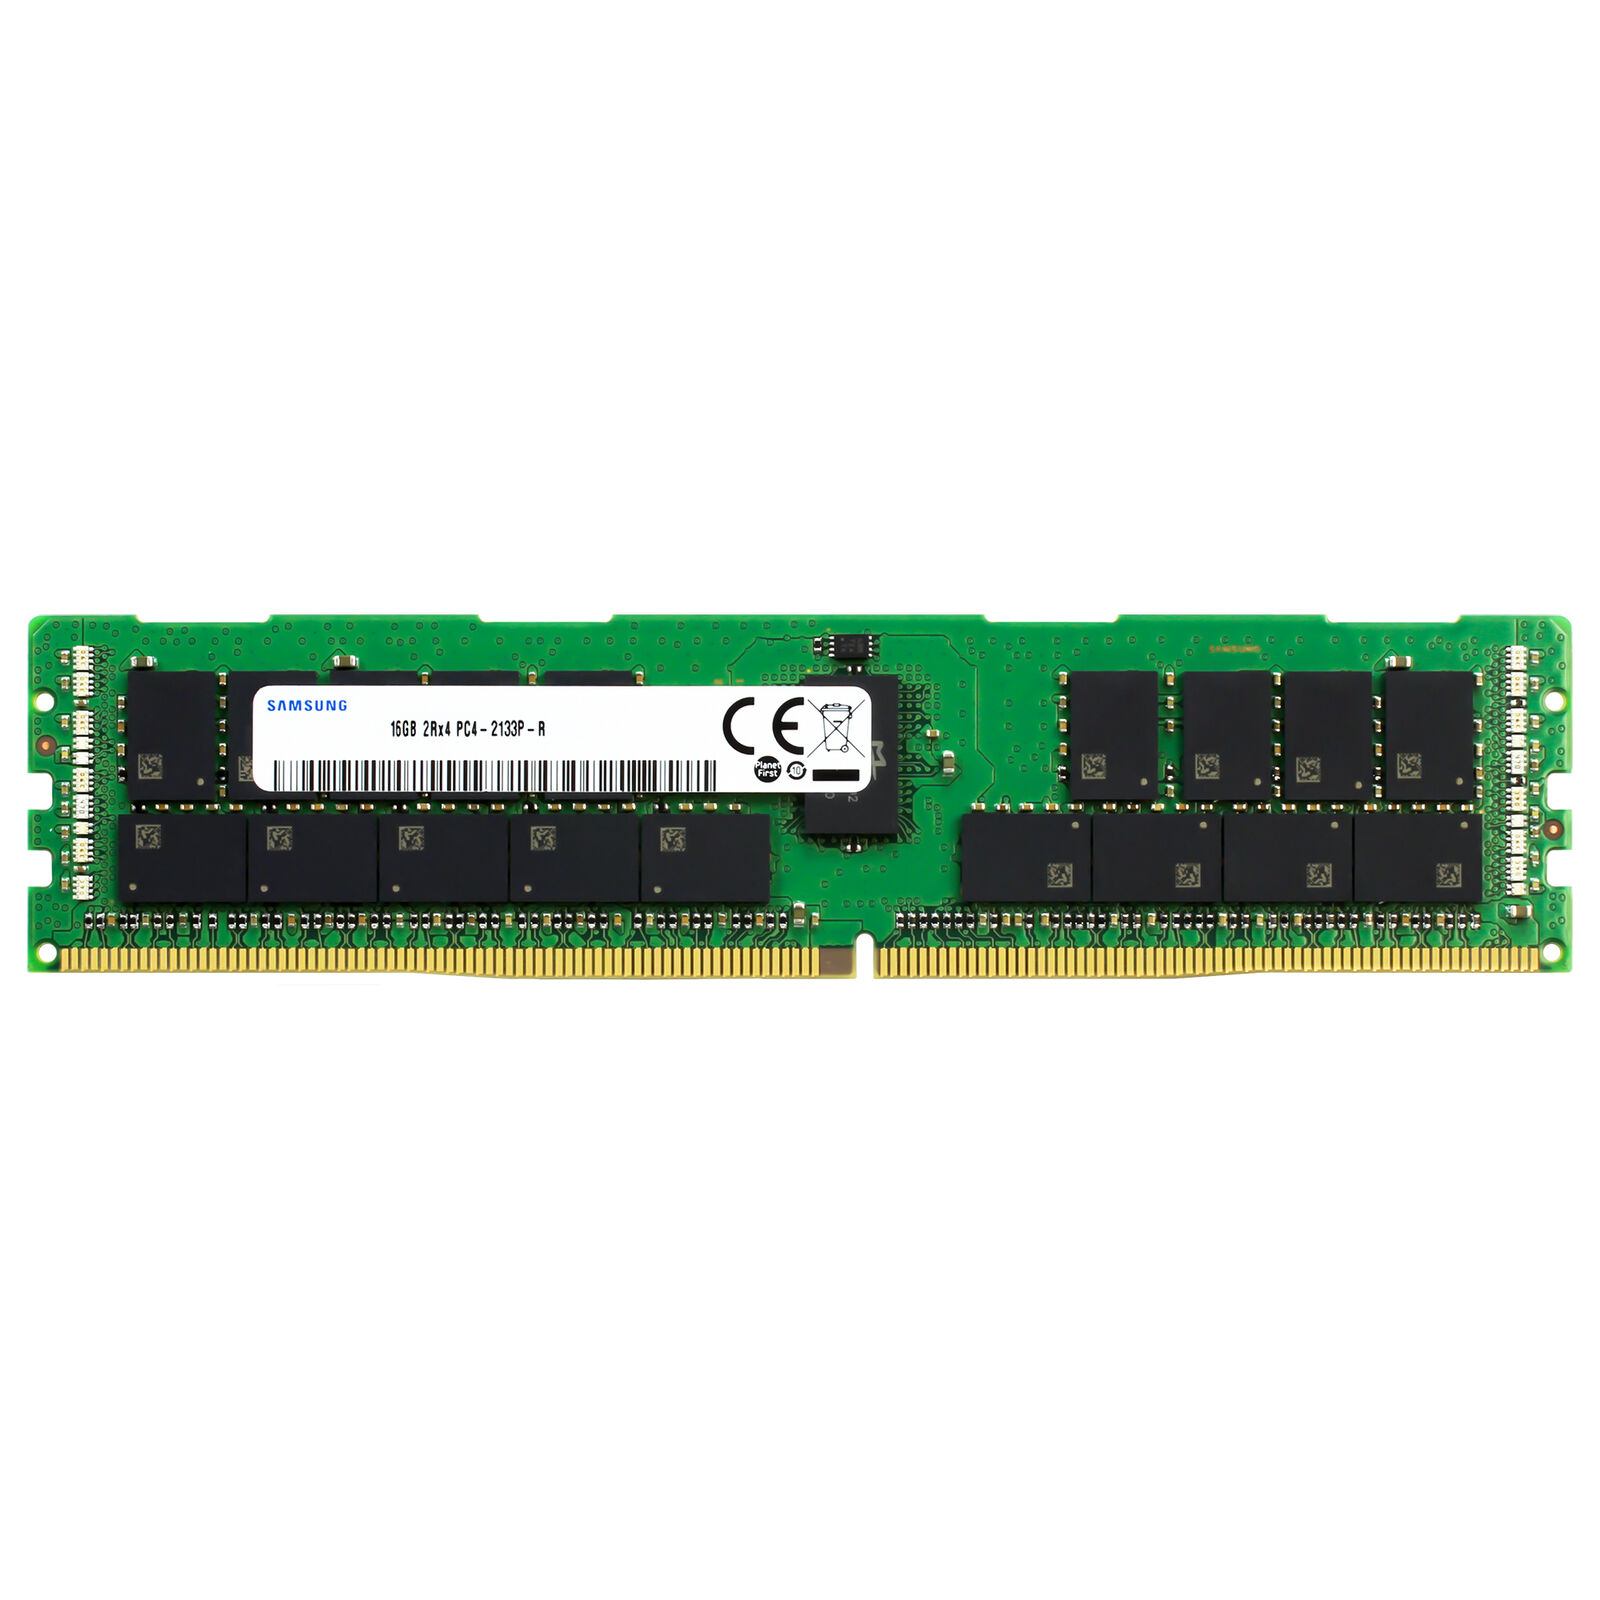
The LGA2011-3 platform allows me to make use of DDR4 RAM, which is not only a performance boost over DDR3, it has also got a lot cheaper it has been replaced by DDR5. I found 2 sticks of 16GB 2133Mhz DDR4 ECC REG RAM for around $40. The reason I make use of ECC memory is that ECC allows for correction of possible data corruption in memory, which will increase the reliability of my server. Also it was proved later that my choice of motherboard/Chassis would not work with non-ECC memory.
I eventually added another 2 sticks of 16GB of memory, at the same speed with ECC, to the server. Even though it is from a different manufacturer, it still ran without any issues.
Chassis
This is probably the most difficult decision so far. My first choice was Chinese X99 motherboard, which literally are recycled motherboard with chipsets taken off of another broken board, which are not always X99. And through different BIOS hacks, they were able to get it to support Xeon E5 CPUs. These motherboard only cost up to $100. My main reason to avoid those is, first of all, they are probably not reliable. There are stories of these motherboards dying in months upon purchase, which is just unacceptable for a server. Also, most of these motherboards don’t even support ECC, since they are aimed at being low budget gaming rigs for lower-income regions in the world.
My second option is to pick up a used X99 motherboard and have a new build, however because these motherboards technically don’t support Xeon CPUs and ECC memory, but fortunately I found an ASUS board that supports this, but these boards are becoming much rarer these days. Their costs, has exceeded my budget. Although this is probably the best option that gives me a lot of storage expansion space, I just cannot afford it for now at least.
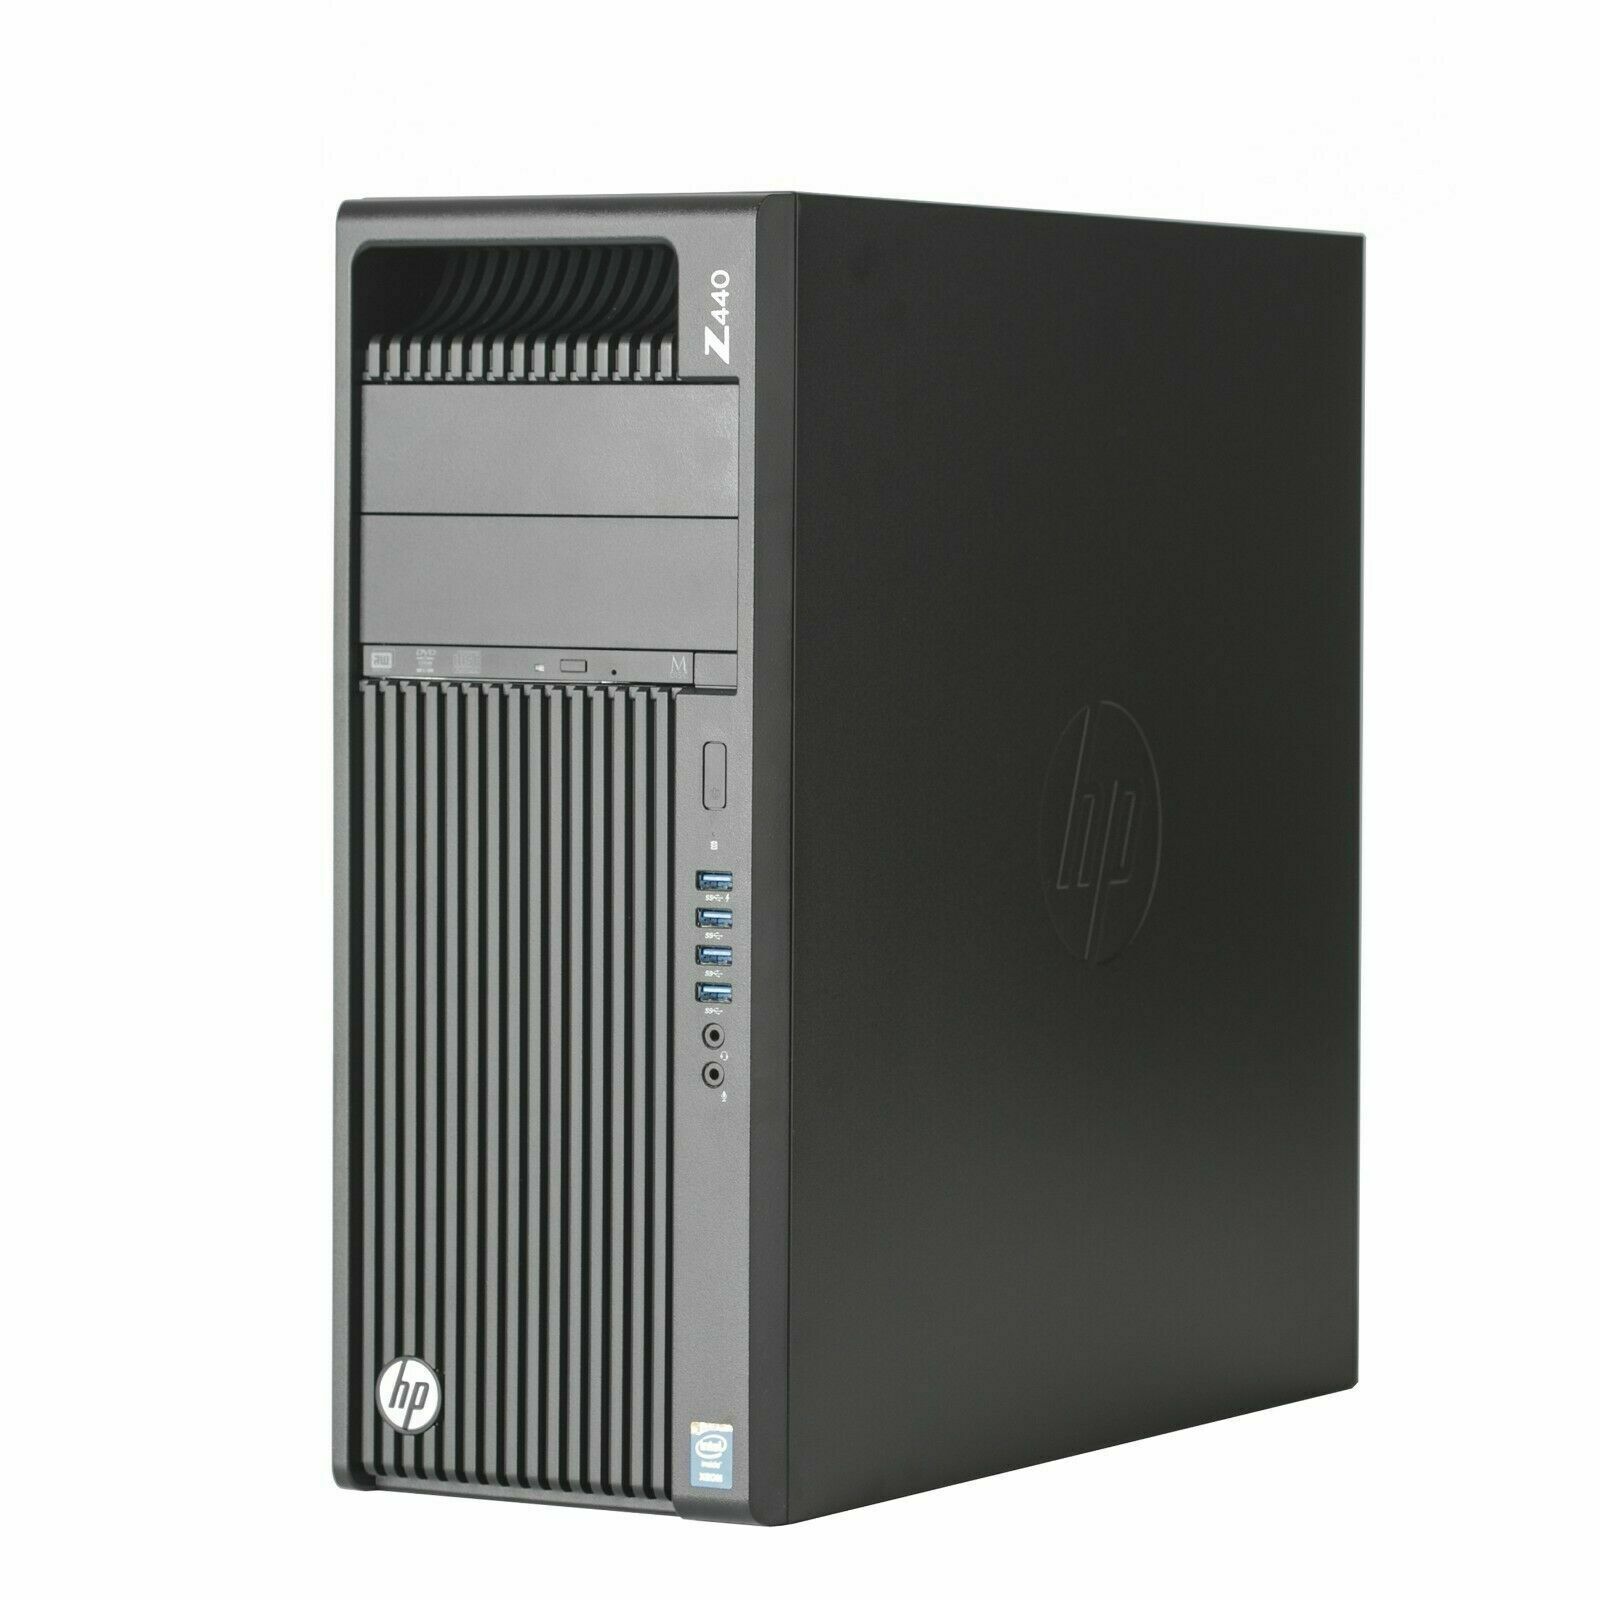
I have also looked into used tower servers, which has a lot of storage space, but they are pretty expensive, so I have to go with a used workstation instead. I picked up a used HP Z440 for $110. It has three 3.5’ hard drive bays, and the motherboard has 6 SATA ports, enough for what I can foresee. Proxmox also allows for the use of other storage devices on the network (like a NAS), therefore this is less of an issue than what I originally expected. Plus, it comes with a case (which is pretty dinged up but it’s what you should expect from buying used), a CPU cooler, and a 700W 80+ Gold rated PSU that is weirdly not ATX. I have once thoughout about just buying the Z440 motherboard and PSU together since I thought the motherboard’s power connects are probably proprietary, but the HP has outsmarted my with a proprietary, non ATX PSU. This means this mobo-PSU combo is stuck with this 3-hdd slot case without heavy modding to a off-the-self-case, but I guess these kind of problem is probably what I should expect for such a low price tag.
Storage
I bought both SSD and mechanical hard drive for my server. The SSD is going to be my boot drive as well as a smaller storage for my VM disks since Proxmox allows me to do so, and the mechanical hard drive will be solely used to store VM disks files. Therefore, I went with a WD Blue 500GB SSD and a WD Red 4TB hard drive. The WD Red drives are designed for NAS use cases and can withstand high up-time and the vibration generated in close proximity, making it ideal for a small server. For larger servers, enterprise drives are used, which are even more durable than these NAS drives.
First attempt at assembly
Because I ordered these parts near christmas, not everything arrived at the same time. By the time I got both the chassis and the CPU, my memory was yet to arrive. I jumped the gun and bought some generic Corsair Vengence DDR4-3200Mhz memory from Bestbuy, which proved to be a mistake. When I plugged in the machine, the internal speaker went off with 5 beeps and the LED blinked red 5 times, after confirming with HP customer service, I found out it is issue with my memory. This old workstation simply does not accept my brand new zoomer memory.
The customer service rep also imformed me at the time that a graphics card is required for this workstation to boot. So I eventually bought a RX 570 4GB on Facebook marketplace for less than $100. There’s not much behind the choice of this card but its very low price point.
Second Attempt
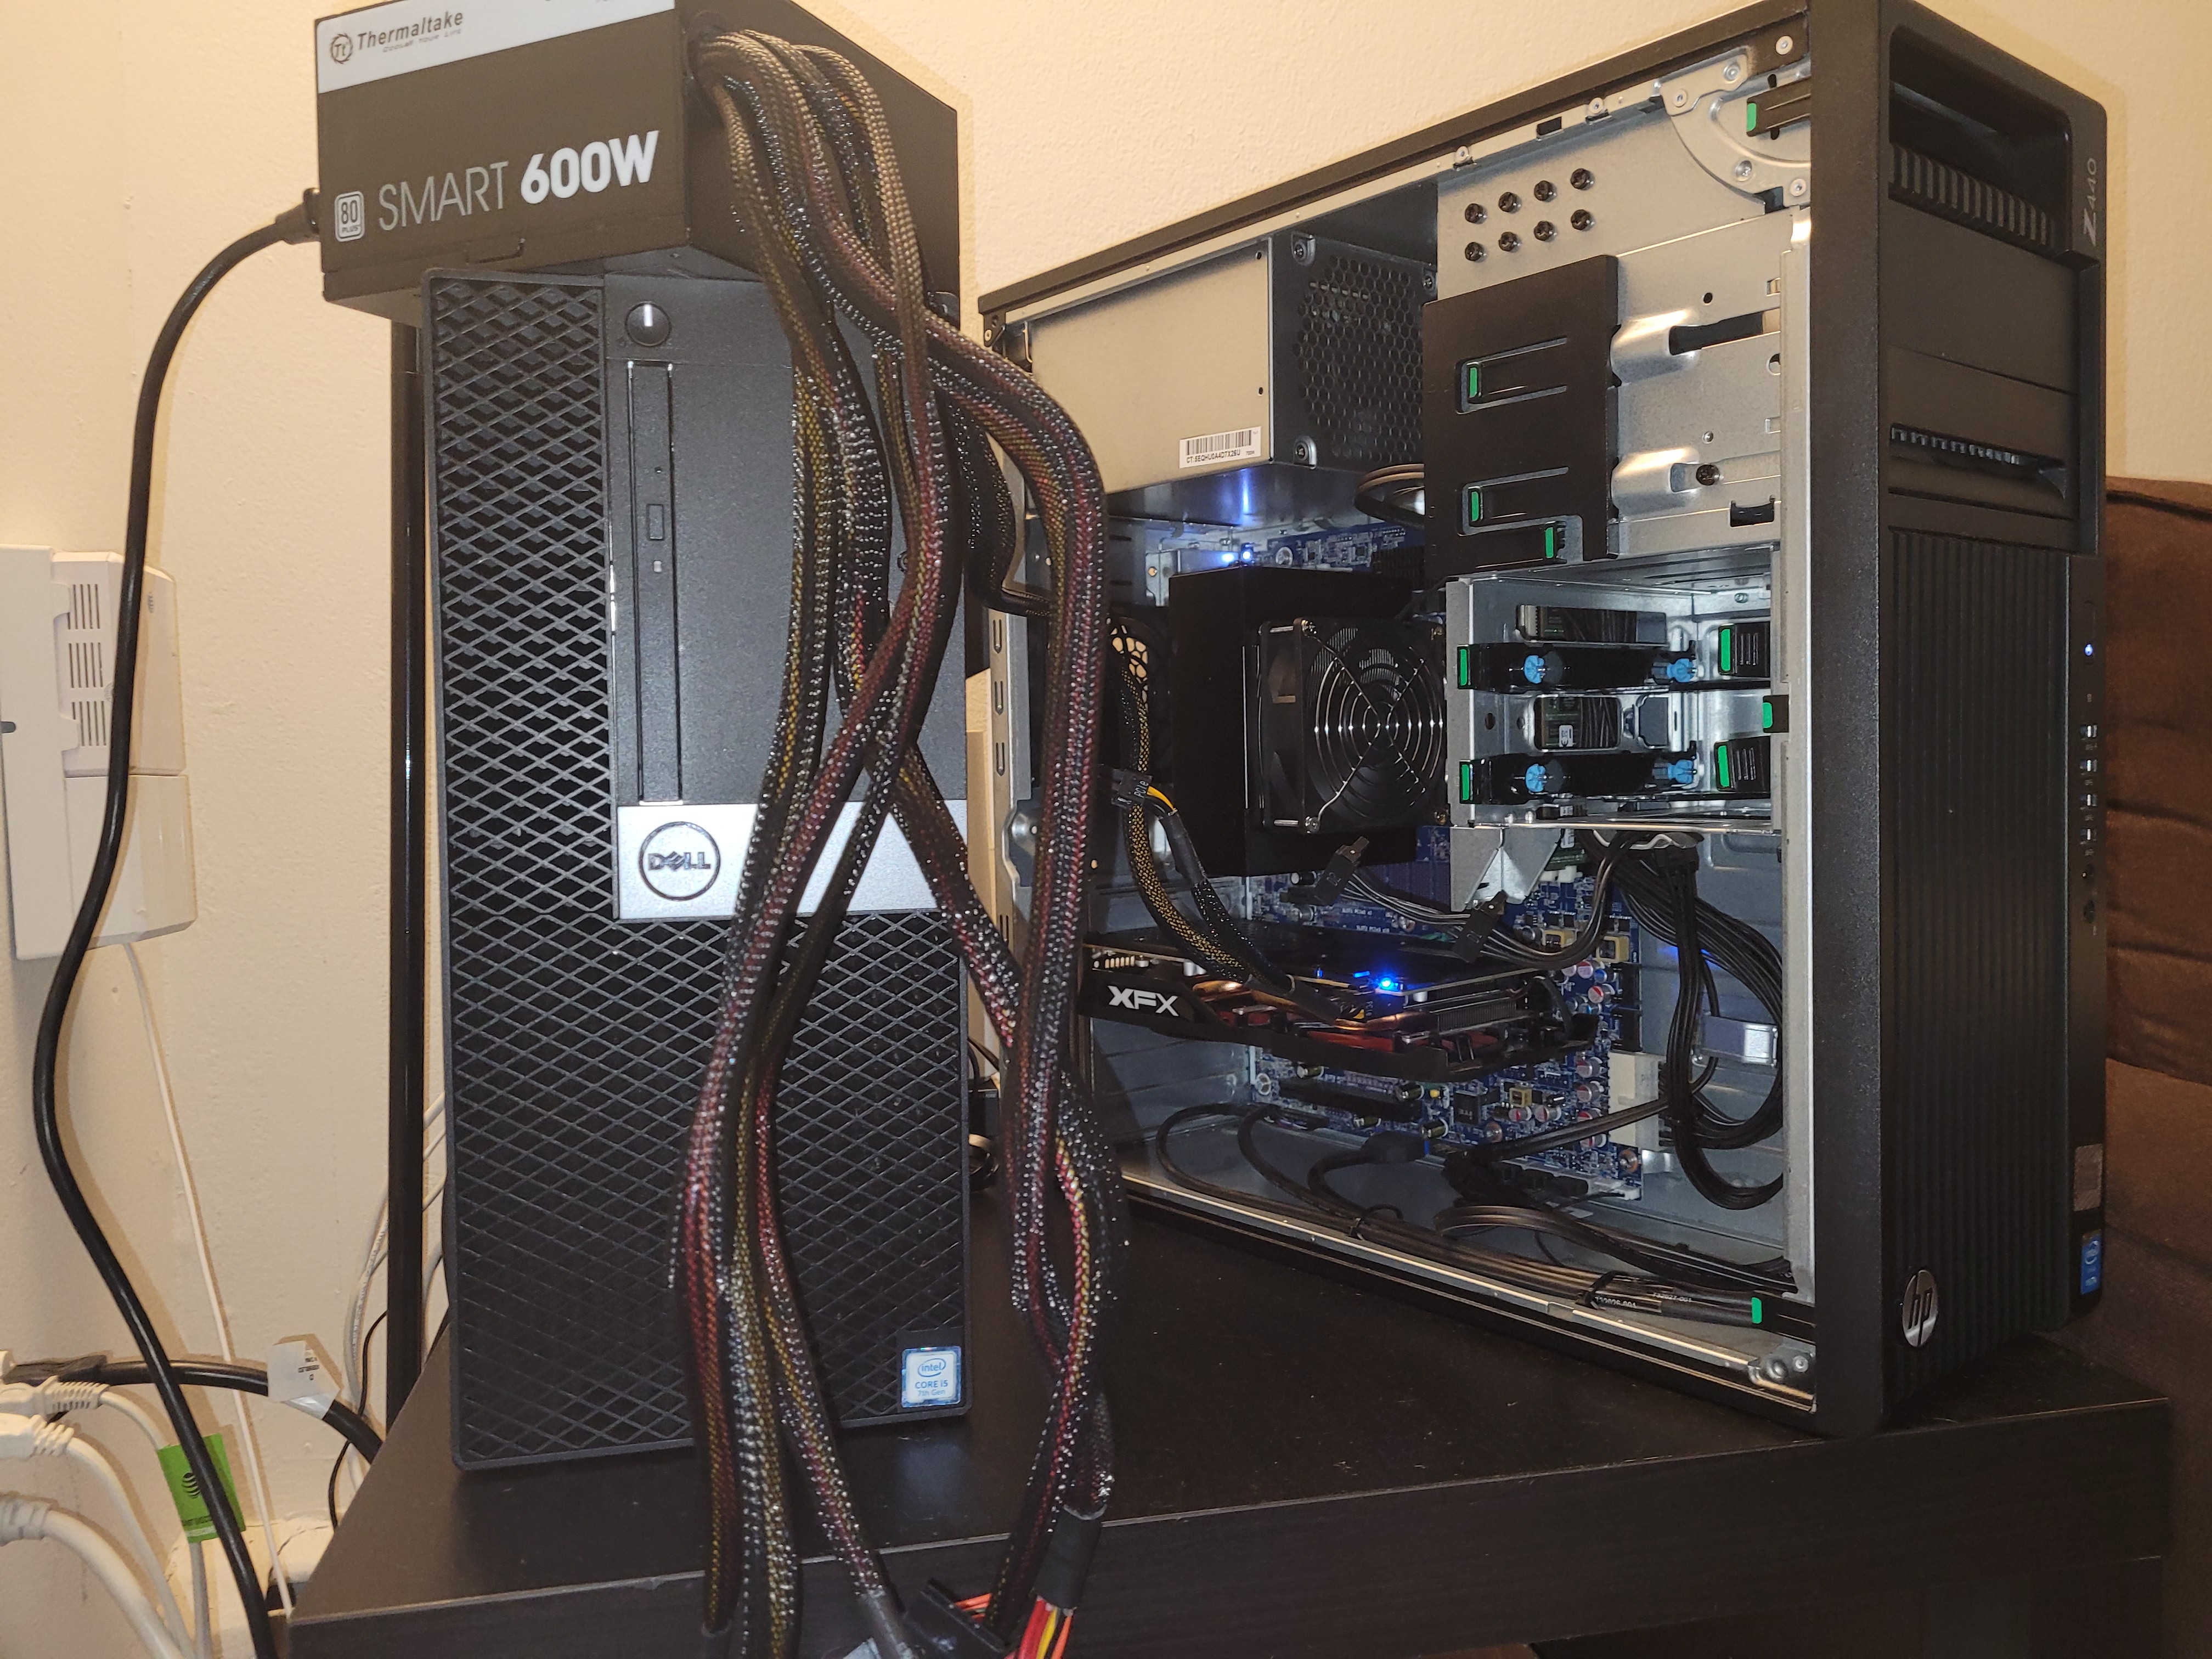
Three days have passed since my first attempt, and I got my hands on both the RAM and the graphics card. However, the Z440 PSU only has 2 6-pins PCIE power connector while my RX570 has one 8-pin connector. Since I have no adapter on my hand, this posed as a bit of challenge for me. I eventually found a temporary solution. Using a spare PSU I had lying around and an accessory from my current PSU, a jumper of sorts that goes on the 24-pin motherboard connector, I was able to power my GPU with my spare power supply while the rest of the system is powered by the PSU inside the chassis.
When I booted into the Proxmox installaiton media, I realized something was wrong: it did not detect my WD red 4TB hard drive in the disk selection screen. I plugged into my PC and booted to both Windows and Linux. No luck, the hard drive seems to be DOA. However, that did not impede me from installing the hypervisor and set up since I can always add the new hard drive later. Therefore I ordered both the power adapter for my graphics card and a Seagate Ironwolf 4TB hard drive and continued.
The install and intial set up was pretty straight forward. A GUI interface was given that was pretty similar to ones you will find on other OS installers. There are still a couple issue one should take note. You do want to make sure you fill out the network settings correctly. I messed up the gateway, and as a result, my proxmox host could not connect to the internet and install packages. Also in the Fully Qualified Domain Name (FQDN) section, if you do not have one, you can make one up and end it with .test.
If you want to use the rest of your boot drive for your proxmox, which was the situation I was forced into by my DOA hard drive, there are some tweaks you have to make.
- Go to
Datacenter->Storage, click onlocal-lvm, which should be taking up quite a significant part of your boot drive, and remove it. Note that this step does not deletelocal-lvmvolume off of the disk, but still please make sure you do not have anything on there that you don’t want deleted before removing it.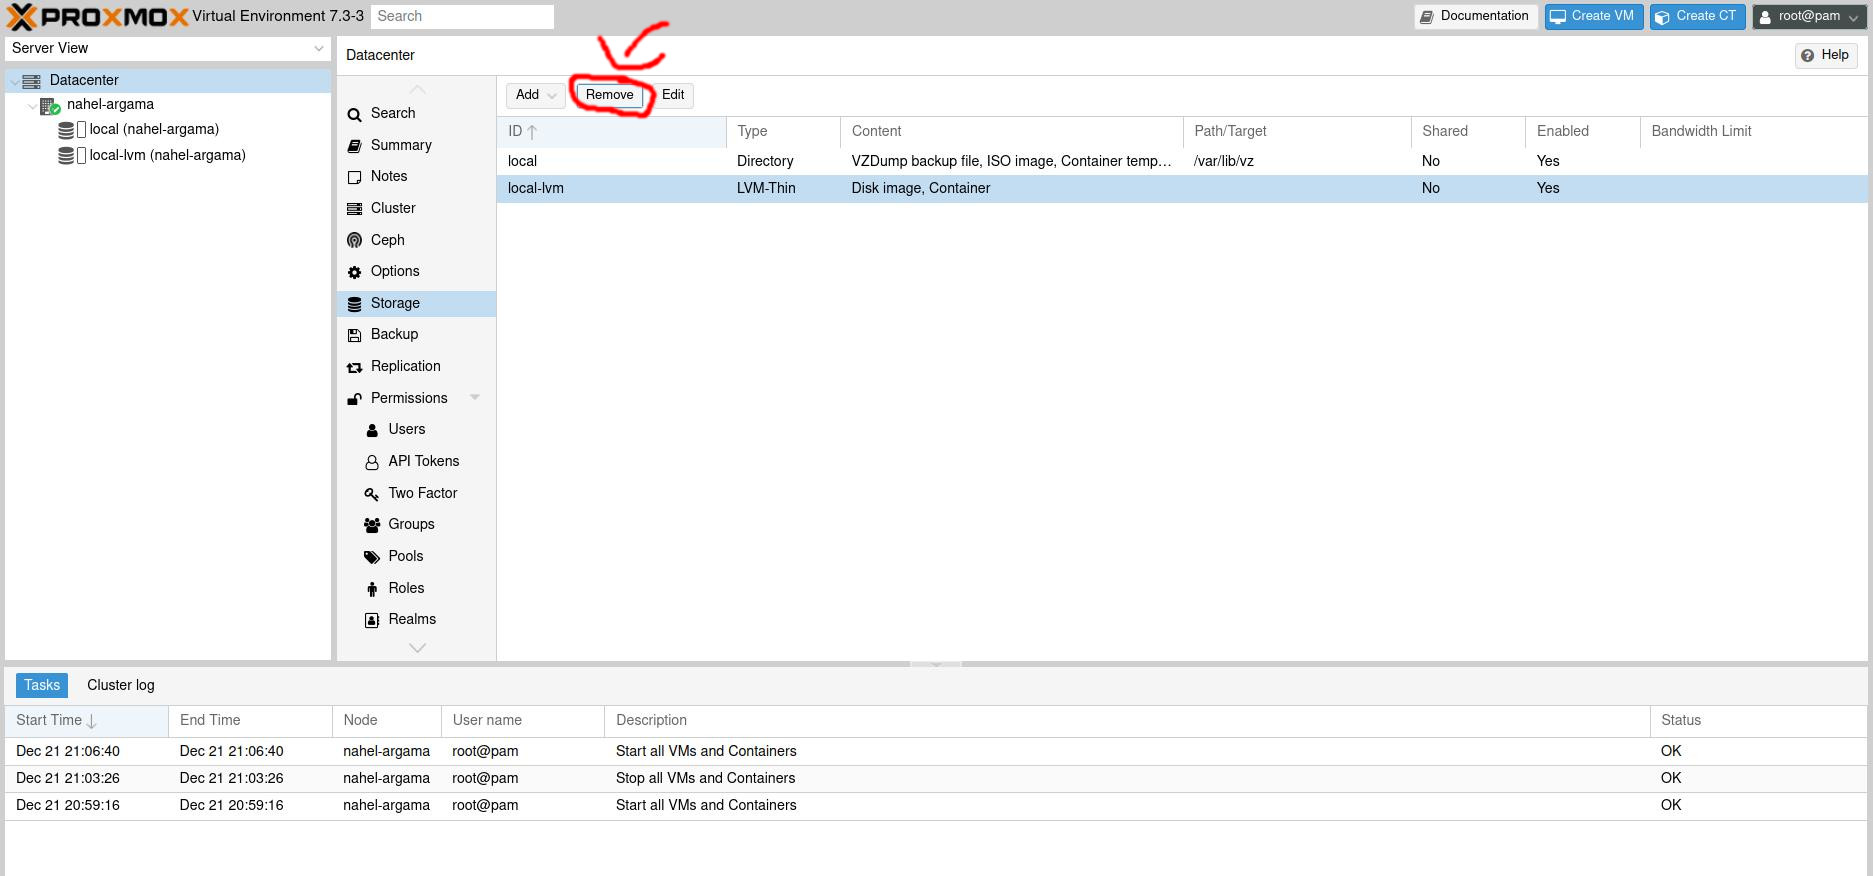
- In the same menu, select
localand open theeditmenu. In thecontentsection, selectDisk Imagealong with other stuff you wish to store onlocal, and when you are done, click OK to save and exit the menu. This is done so that local will show up as a storage option when you are setting up virtual machines. - Run the following command on your proxmox instance, do note that once you finish this step, anything you had on local-lvm will be gone.
# lvremove /dev/pve/data
# lvresize -l +100%FREE /dev/pve/root
# reize2fs /dev/mapper/pve-root
And the space taken up by local-lvm is now transferred to local in its entirety, which allows you to store VM disk files.
When my new hard drives finally arrived, I formatted it with ZFS and added inside Proxmox. This was how I did it:
- Go to your current Proxmox node, and select ZFS under
Disks->Create ZFS. - In this menu, add a name for the ZFS pool, RAID configurations, and the disks you want to add. NOTE: the disks have to be 100% clean, meaning no data or partitions, in order for it to show up here.
- When you are done configuring, click
create
Creating Virtual Machines
etting up virtual machines in Proxmox, after all the inital setups, is pretty easy if you have used type 2 virtualizers like VirtualBox. You can upload operating system ISOs from your computer, and it has a GUI setup wizard for configuring you virtual machine, and of course, you can view the console through the built in VNC viewer. Also do note that the shift key will not work in firefox unless you disable the privacy.resistFingerprinting option in the about:config page.
The network setup was way easier than I thought. I simply set up bridged adators for the virtual machine, which allows it to appear as a regular device with its own private IP address on the router, which means it can be accessible directly from another device as if it’s not a virtual machine. However, if you want to put the virtual machines on a separate network, then a VLAN might be required depending on the situation.
Conclusion
Over about a year of maintaining and tinkering with this server. I definitely felt I learned a lot about computer hardware as well as networking and virtualization. Since I have already migrated my website to Hugo, I can now more easily fulfill my original promise of writting about setting my individual services as VMs on my Promox server. Besides the 3 services listed I originally planned, I also set up a Jellyfin instance as my media library (mostly anime lol) as well as a Kali Linux box that I can RDP into over the internet. The latter became very useful during my EECS 388 computer security class, where I had to crack passwords, and I couldn’t leave my laptop open for hours when I had to move around campus. Expect articles on those soon!
Would I recommend self-hosting a homelab to other people? If you are interested in Tech, YES! It will be a fun experiment turning what companies deem to be trash into your personal treasure that can be a valuable asset for you to learn about servers, networking and cybersecurity. It is also valuable for you if you care about privacy, as putting your data in your own computer is much safer than trusting it with Google.